OLd School

Not saying it can't be done If that is the tools you have to use then go for it. I am saying why bother if you have the tools and if your engine builder can't afford a dial bore gauge then I may question how professional he is. Can you imagine if you went into Joe Gibbs Racing, Penske Racing, Roush Fenway Racing, Shaffiroff racing or any other reputable shop and saw them using a snap gauge to measure bores or a feeler gauge to measure piston to wall clearance. There is not a hope in hell they use these tools. Even if they had a machinist that says he can feel .0005 clearance there is no way they would chance it. Remember a human hair measures about .002-.003. Split that hair into six pieces and now tell me how accurate your feeler gauge is at measuring .0005. Just saying. I use a mic everyday and teach measurement using all sorts of precision measuring tools and I am well aware of how accurate one can be with practice. But I would much rather use a dial bore gauge than a snap gauge that I have to transfer over to a mic measurement anyday. One less thing to go wrong in my measuring. When I use a blueprint check sheet I would much rather give my customer a reading of say .0025 than a reading of well the feeler gauge felt good so it is about .0025. Your customer is usually a pretty smart individual and you can look pretty foolish if you can't back up your claims. Just saying??

Greg
 
Back many years ago before mics and such were available everywhere I saw this done many times just to determine as a base to see if the cylinder needed boring. This was back when you would do a in chassis, cut the ridge out, hone, rings, new bearings, and a valve job. Did many of those when I was a heck of a lot younger. Today I don't think it would even be considered to re-ring or put new bearings in a engine while it was still in a chassis. Also today all the measuring equipment is easily and cheaply obtained.

Ben Braun
 
If you said .0025 with conviction I bet he would go with it. allowable/ accepted tolerance plays in as well ; If the tolerance is .001 its a moot point.
Pretty hard to argue the fact a .0025 fits and a .003 does not.
As a side note my driver fells you can rock the piston enough to change the clearance in the case of the feeler gauge.
 
You use the feeler guages as a compariter, not a measuring tool.
Use the same set, so the feel is always the same, soon the mechanic will realize a certain clearance feeler guage that gets him/or her....to the
engine performs as he wants it to.
After that, should he for any reason wish to tighten or loosen the clearance, he merely adds or subtracts a thousandths thicker or thinner
feeler guage leaf.

Any and all measuring devices ought to be used in 3 places around the bore, to determine roundness.
It also ought to be used at various depths in the bore to determine the shape of the cylinder down the bore.
 
Jimbo you must have went the samo Old School as I. That was and is a method to check piston skirt to cylinder wall clearance. As far as rocking the piston , we always placed piston without rod installed up side down in the bore held piston tight against one side of the bore and measured with feeler guage on opposite side. You are only concerned with the clearance at the skirt, 90* to the pin, if you have the correct clearance there the rest is fine. You check at various locations. That all being said I am referring to practices used when reconditioning typical engines not competition destined engines. If you are old school you will remember some of the engines from years ago had clearances and tolerance you checked by sight and feel, and they went for ever. Ah the days of wringing the oil out of an oil bath air filter, and setting the points with a match card.
 
Good to hear from you Kart 43 as you don't wander to the dark side very often. We used to chat lots when we ran the Hondas. I remember those old days well as I cut my teeth setting points and adj valves on 74-77 Hondas. The big deal was changing those Civics over to electronic ignition man that was high tech stuff back then. Swap out an 1980 Civic ign for the old one. And yes I did quite a few in chassis rebuilds at the dealer level. Roll the bearings in after a thorough cleaning of the crank. Back long before the invent of brake/clean. I miss those days but not so much.

Greg
 
Guys,you could use a c-clamp as a measuring device for the piston and set your dial bore gauge from that IF you have a good enough 'feel' for it.At that point your dial bore gauge is nothing more than a comparitor and measuring the difference between a set[your piston] and a goal #[the clearance you want].
 
In a very short time there have been more answers to this post than any other on this forum.
It would be nice if some of you would make similar posts to stimulate a discussion.
There are as many possible topics as there are engine parts.
 
gregh we have been on aLO206 for 4 years now. The same one I lapped the valves once and it is getting faster.
 
I wasn't even thinking of Civics the Valiant slant six actually came to mind, but my favorite was the Volvo late 60's visually ste the point dribble some oil in the carb slide dampners call it a tune up and off it went for well until the next time.
 
Where have I been?? We are on our third year with our lo206. Time for a new short block and I will keep the old one as a spare just in case. Man it has been a ton cheaper than running the Hondas for everyone at our track.
Cheers,

Greg
 
Even he called it a comparator, not a measuring device. . also used the word "about "quite often.
no doubt the dial bore gauge is a nice tool and speeds things up.
 
piston.

For sizing, the mechanic should insert a feeler gauge between the piston and the cylinder wall (see photograph). It is best practice to start with a small size of feeler gauge such as one of one thousandth of an inch. If the piston sides past this size of feeler gauge, the mechanic should gradually increase the size of gauge until the piston will slide with gentle pressure asserted.

An alternative method of measuring the piston to bore clearance is to use internal and external micrometers. Subtracting the piston size from the bore size will give the clearance, however using two measuring devices this way opens the possibility of accumulating error. With such a small amount of clearance in some motorcycle engines, any errors must be avoided at all costs
 
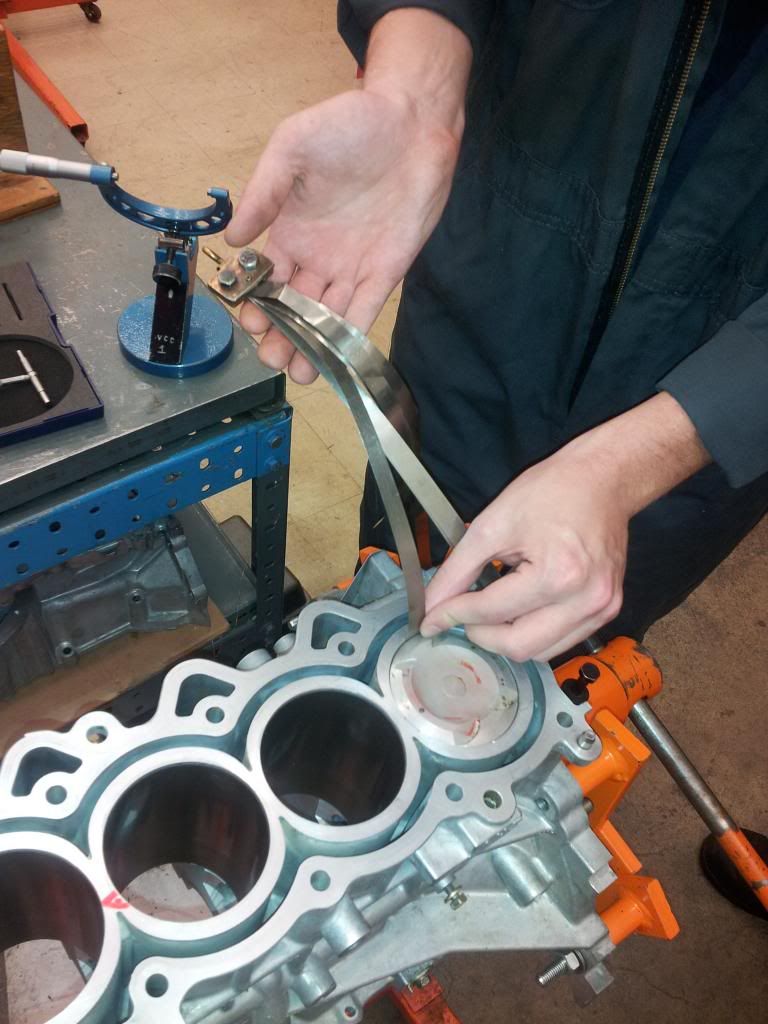
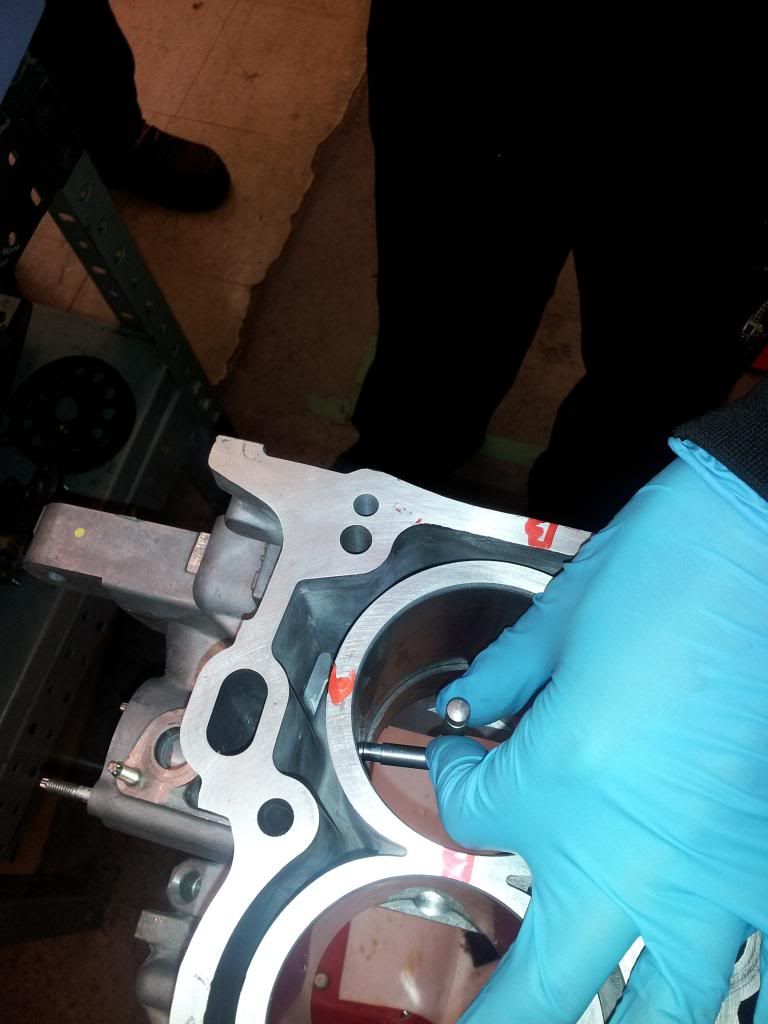
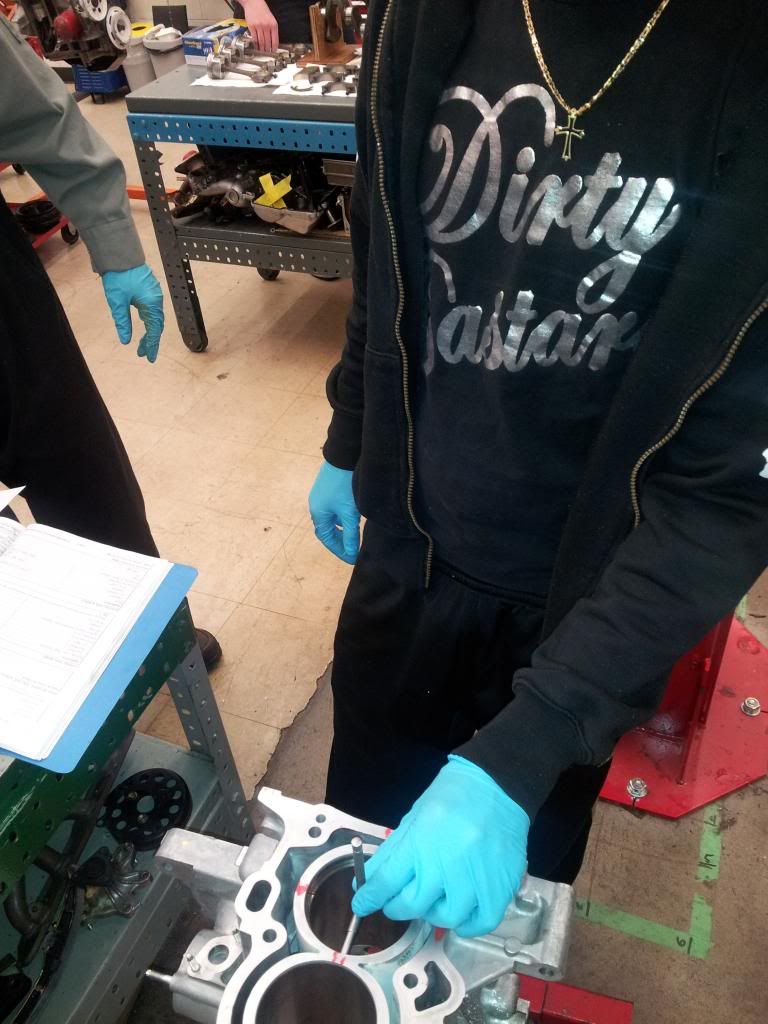
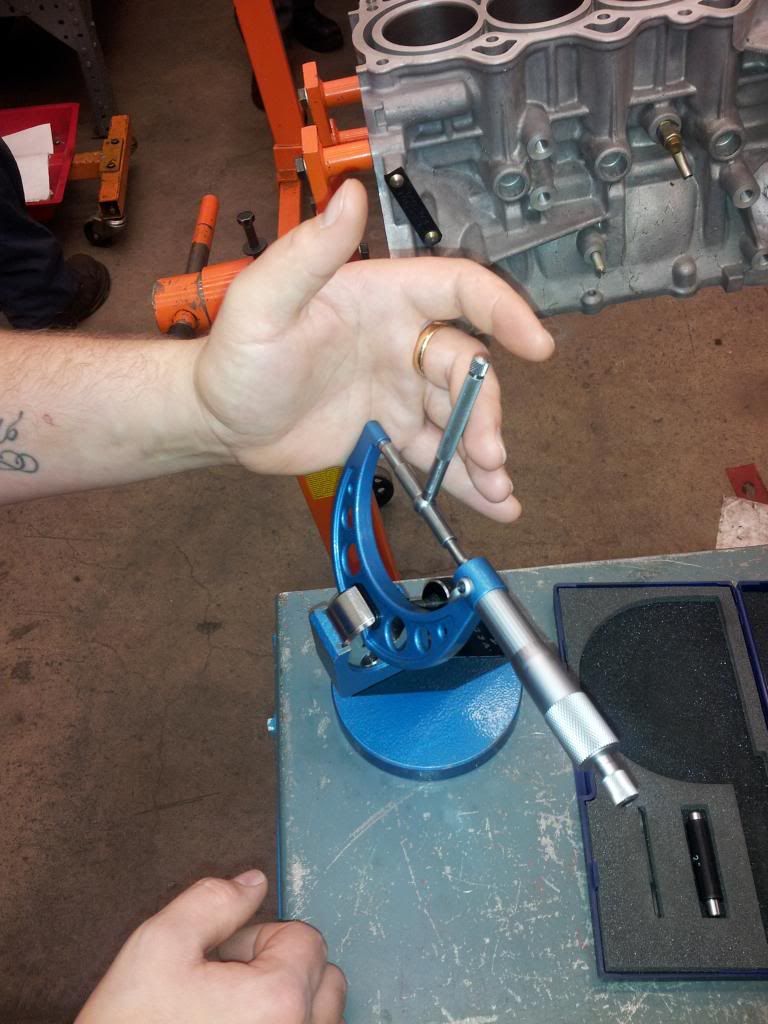
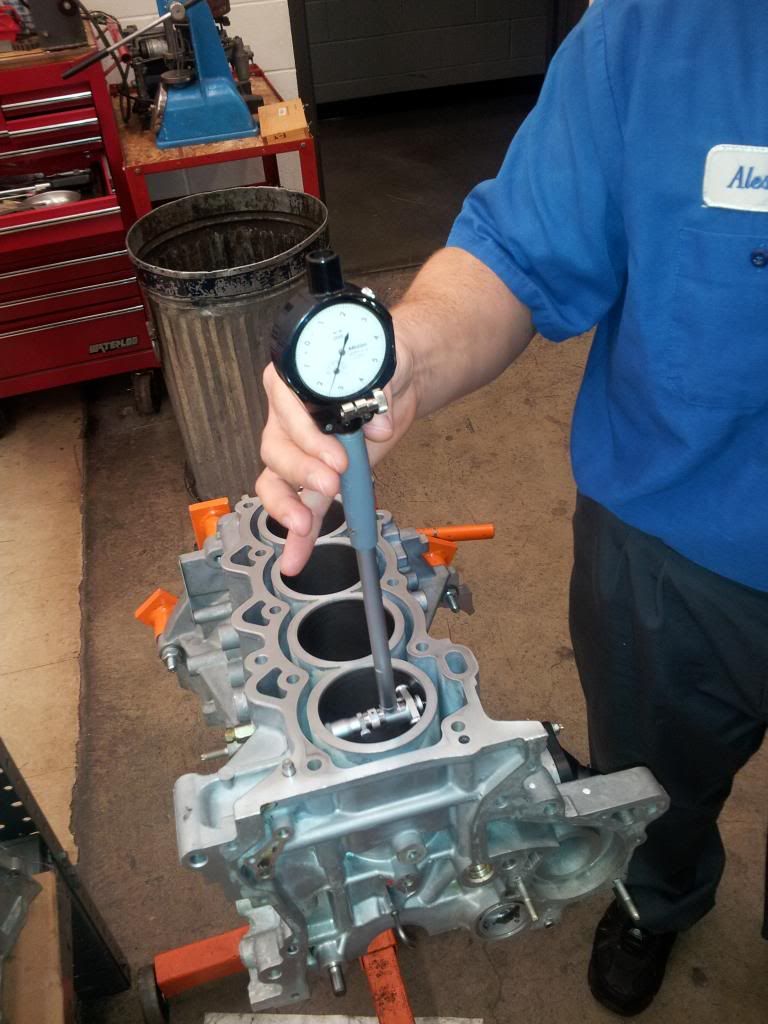
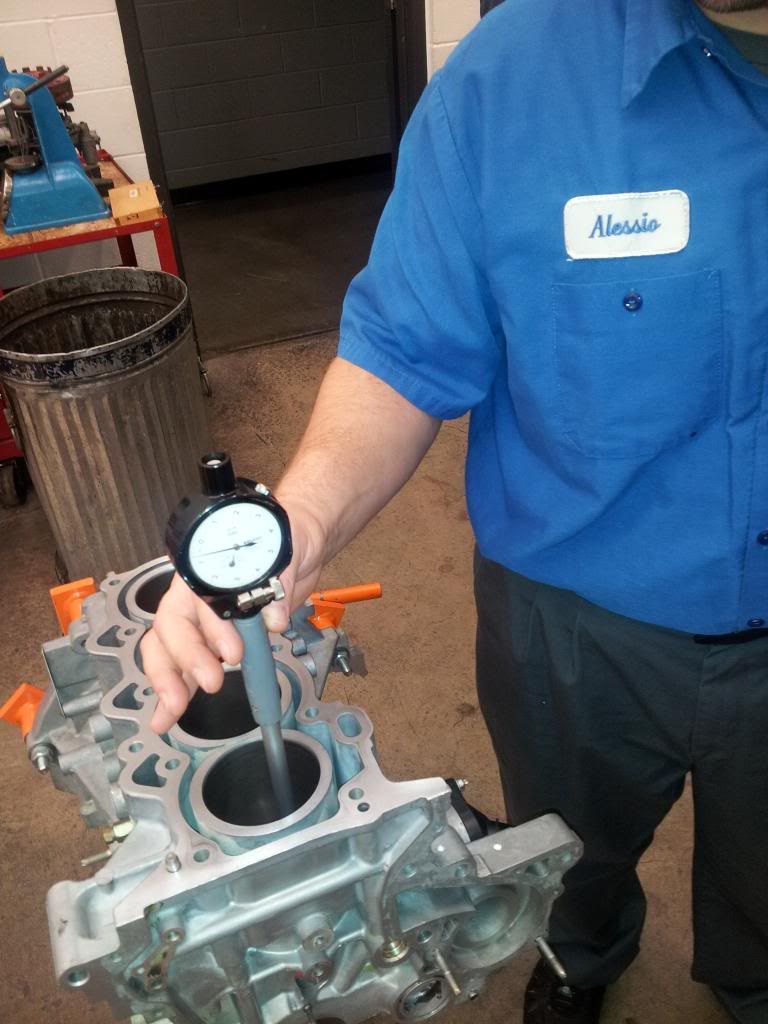
Ok so I currently am teaching a class of 16- 2nd year guys and I thought I would ask them to measure piston to wall clearance using three methods since this post is relatively current it is quite fitting. So they used the feeler gauge method first and gave me feedback. Then I had them use a snap gauge -t gauge and give feedback. Then finally using a quality Mitutoyo dial bore gauge. All agreed that if you have the dial bore gauge there is no disputing it's accuracy and time savings. Using the snap gauge most students can be within about .005 in repeatability. With the feeler gauge about .001 was about it as some thought snug was right some thought tight was right and others a bit loose was what they felt was correct. The average student could do all four bores and four piston measurements in under fifteen minutes using the mic and dial bore gauge. With the t gauges it took close to half hour and the accuracy was subject. The feeler gauge method although quick was very subjective in these fellows minds. This brought up some pretty good talk and all thought it was worthy of doing and comparing. Just thought some people may have been interested in this side by side comparison and the pics show the process for each way of measuring.
Feeler gauge method:
20131118_140609_zps40a82086.jpg

Greg
 
Back
Top